Garden Monday : Seeds, Skins & All – Seduction of the Tomato
(Taking a break from the Life-isms : Surf Lessons Series. It will be back later in the week)
Work. Hobbies aren’t supposed to be work. That’s why we do them, right? Well, somehow, this time of year, the abundance of the garden, the CSAs and that silly farmers’ market fetish I have tips over into the work category.
Way, way back in the late winter months, every gardener I know is pouring over seed catalogs and drooling at the descriptions. The dearth of the winter makes terms such as ‘vigorous growth’, ‘prolific producer’ and ‘high yields’ incredibly seducing come February. As the last signs of frost start wearing off in the spring, planning the garden takes on the excitement of an adventure in that any kind of rigors around ‘planning’ can often give way to the ‘adventure’ part of the activity. In March and April, you are blinded by the opportunity planting the garden represents. The voice reminding you of the deluge of crops you will be taking home from your CSA come late August is barely a whisper next to the loud seduction of those seed catalogs.
Next thing you know, the mail box is filled with seeds that promise to impose that dirty word, work, on your harmless garden hobby in August. Curse those seed catalogs.
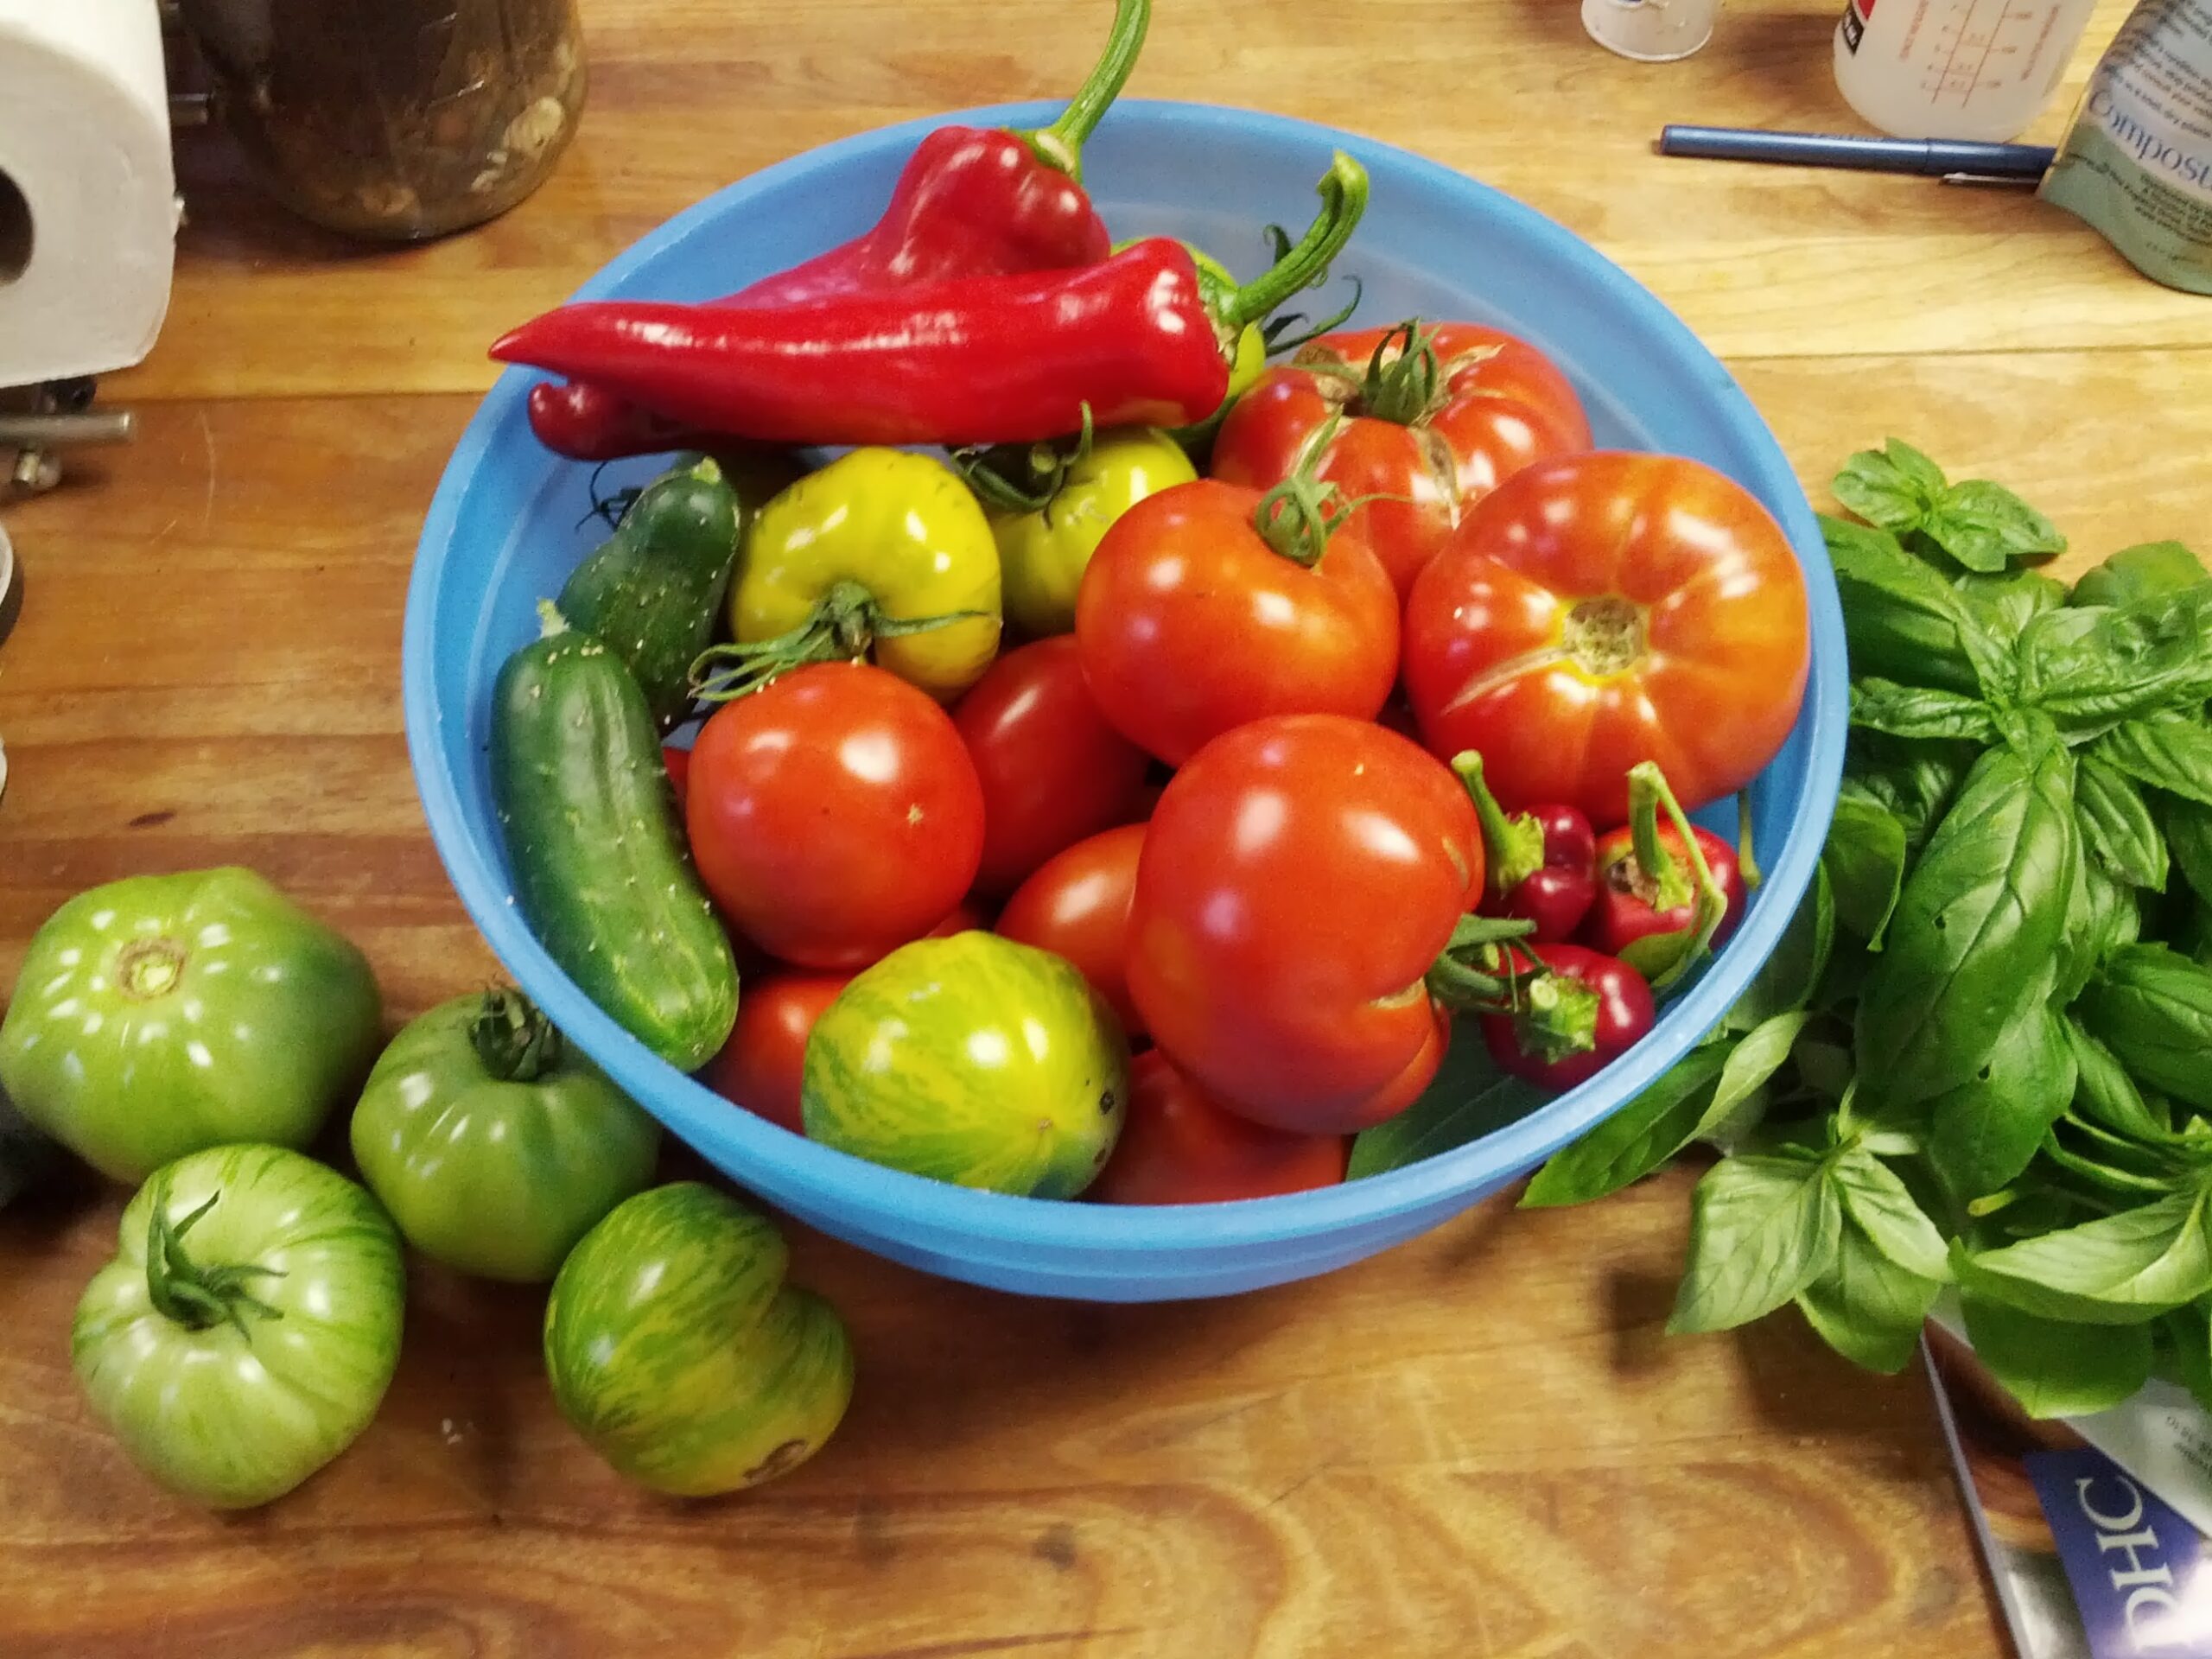
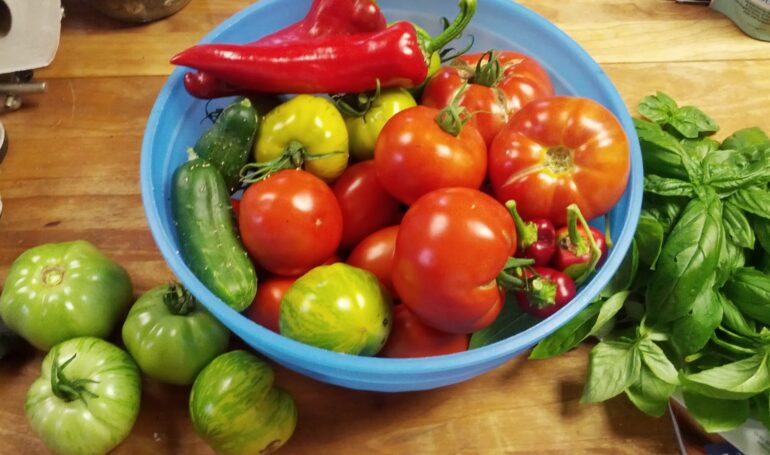
I am especially guilty of letting tomatoes bury my late summer in work. For a fruit that was once thought to be poisonous, the tomato is surprisingly effective at seducing me and many gardeners alike into planting far too many varieties. Honestly, there is nothing more satisfying that the ‘wow’ a voluptuous, round, red, perfectly-ripe (as in firm, but giving to a light squeeze) tomato in the garden. A head of cabbage can’t do that. Caressing green kale leaf doesn’t offer nearly the delight of squeezing a ripe tomato. And, when have you heard of a voluptuous carrot?
I rest my case, there is nothing sexier in the garden than bushes of ripe tomatoes.
The seduction of the ‘wow’ factor tomatoes offer holds true for my farm CSA and farmers markets alike. One year, to avoid the spread of the disease late blight, many farmers in the region to razed their tomato crops. Based on the loss of tomatoes, that season was reflected upon rather poorly. No matter how many pounds of leafy greens, eggplants, onions, lettuces, rutabagas and other vegetables are taken home, the success of the tomato crops sets the tone for the season for backyard gardeners and farmers alike.
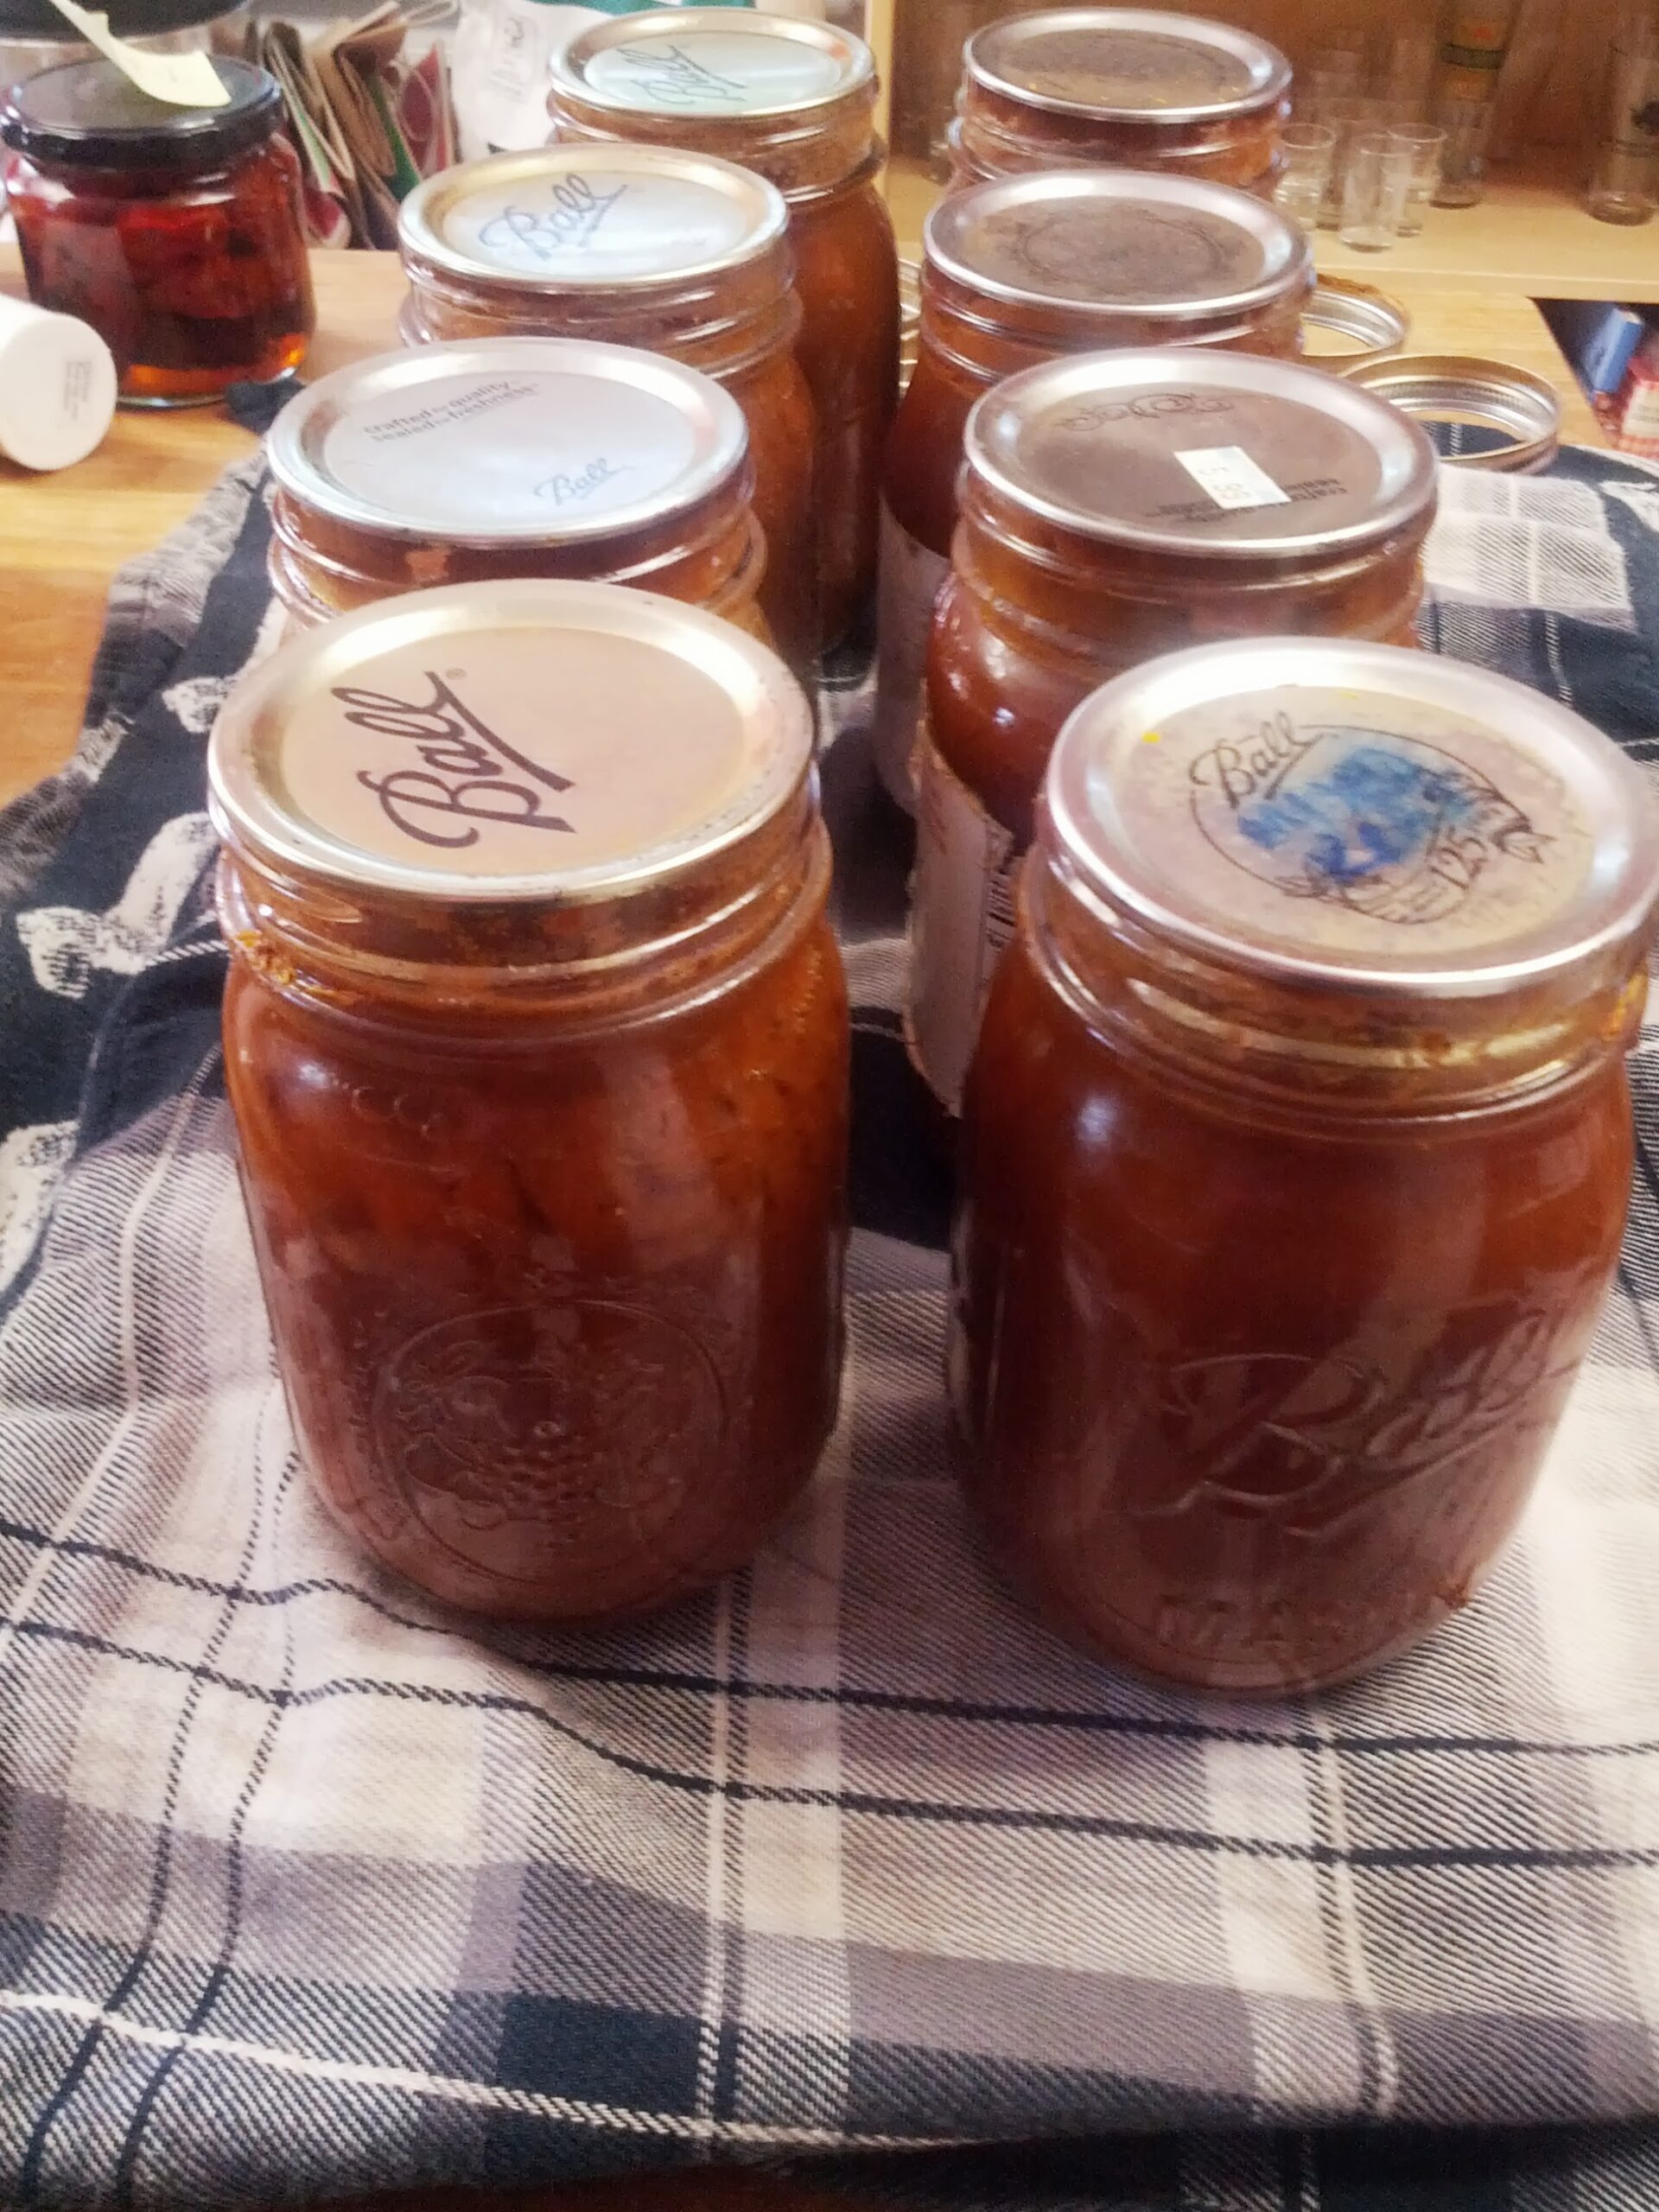
Ultimately, a successful tomato season leads to work come August. Now, I love tomatoes in all forms – slices with a little salt and pepper, wedges in salads, in my Not-Your-Corner-Itilian-Eatery-Eggplant-Parmesan, in soups, in sauces, eaten like an apple, etc. But, there is nothing like a nice, homemade tomato sauce from fresh, just-picked, tomatoes. Of course, if I had it my way, I would always eat my tomato sauce within days of picking the tomatoes, but that is hardly practical when there is 30 pounds of tomatoes quickly going bad on the counter. So, canning is a must. Besides, come next February when I am browsing through those seed catalogs again, a jar of last seasons tomato sauce is a perfect way to lull myself into thinking the summer abundance is well worth the work to come.
Just because next February I may romanticize about the joys of my home canned tomato sauce doesn’t mean I want making said tomato sauce any more work than necessary. As a matter of fact, when 30 pounds of tomatoes are weighing heavy on my conscience, I want to rid myself of that guilt as quickly as possible. To do so, I take a few shortcuts in making my tomato sauce.
My preference is for my tomato sauce to be the least amount work overhead (program management speak from my former life) as is humanly possible. I do not strain out the seeds. I do not scald raw tomatoes. And I most certainly, I do not remove the skins. Right now, I know the most ardent of home canning purist among you is scowling or even shrieking with horror, but that is just fine with me. You aren’t invited to my next pasta dinner anyway. I don’t need someone poking through their plate looking for those tough skins.
I know canning seems like this big monumental task, and if you follow the instructions of said purist, it is. Do you know how time-consuming it is to peel a tomato? I don’t care what the instructions say, no tomato skin has ever ‘easily slid off’ after 60-, 90- or even 300 seconds (when the tomato turns to mush) in a scalding bath. Not to mention the mess and danger. There’s boiling water. There’s ice water. There the slippery muck that covers all surfaces near the peeling operation. That is a recipe for disaster or maybe just a major headache.
No thank you. I simply rough chop all the ingredients into the crockpot and let them simmer. They simmer at least overnight but they can also simmer for a few days. Once they’ve simmered, I puree them in the food processor and return them to the crockpot until I have the time to can them. The pureeing takes quick care of those tough skins and seeds. Ultimately, I can’t tell the difference, which my former program manager self will tell you, means it is not a cost effective use of my time.
So, one might ask, now that I have left my program manger self behind, would I reconsider the benefits of peeling and seeding my tomatoes? Perhaps you think my new outlook on life might find more zen in the act of meditating on scalding tomatoes? Well, it is quite the opposite. I am instead embracing my imperfect self and enjoying the fruits of my labor even more. Instead of feeling guilty over that seductive spell of the tomato, I will celebrate it and happily embrace my lazy sauce making and canning.
Tomato Sauce – Seeds, Skins & All
Tomatoes – at least 5 lbs (which should get you 4 pints of sauce)
Vinegar (Red Wine, Balsamic or preference to taste)
Your choice of fresh herbs (basil, oragano, tarragon, red pepper flakes etc)
Hot peppers (optional)
Garlic cloves (to taste)
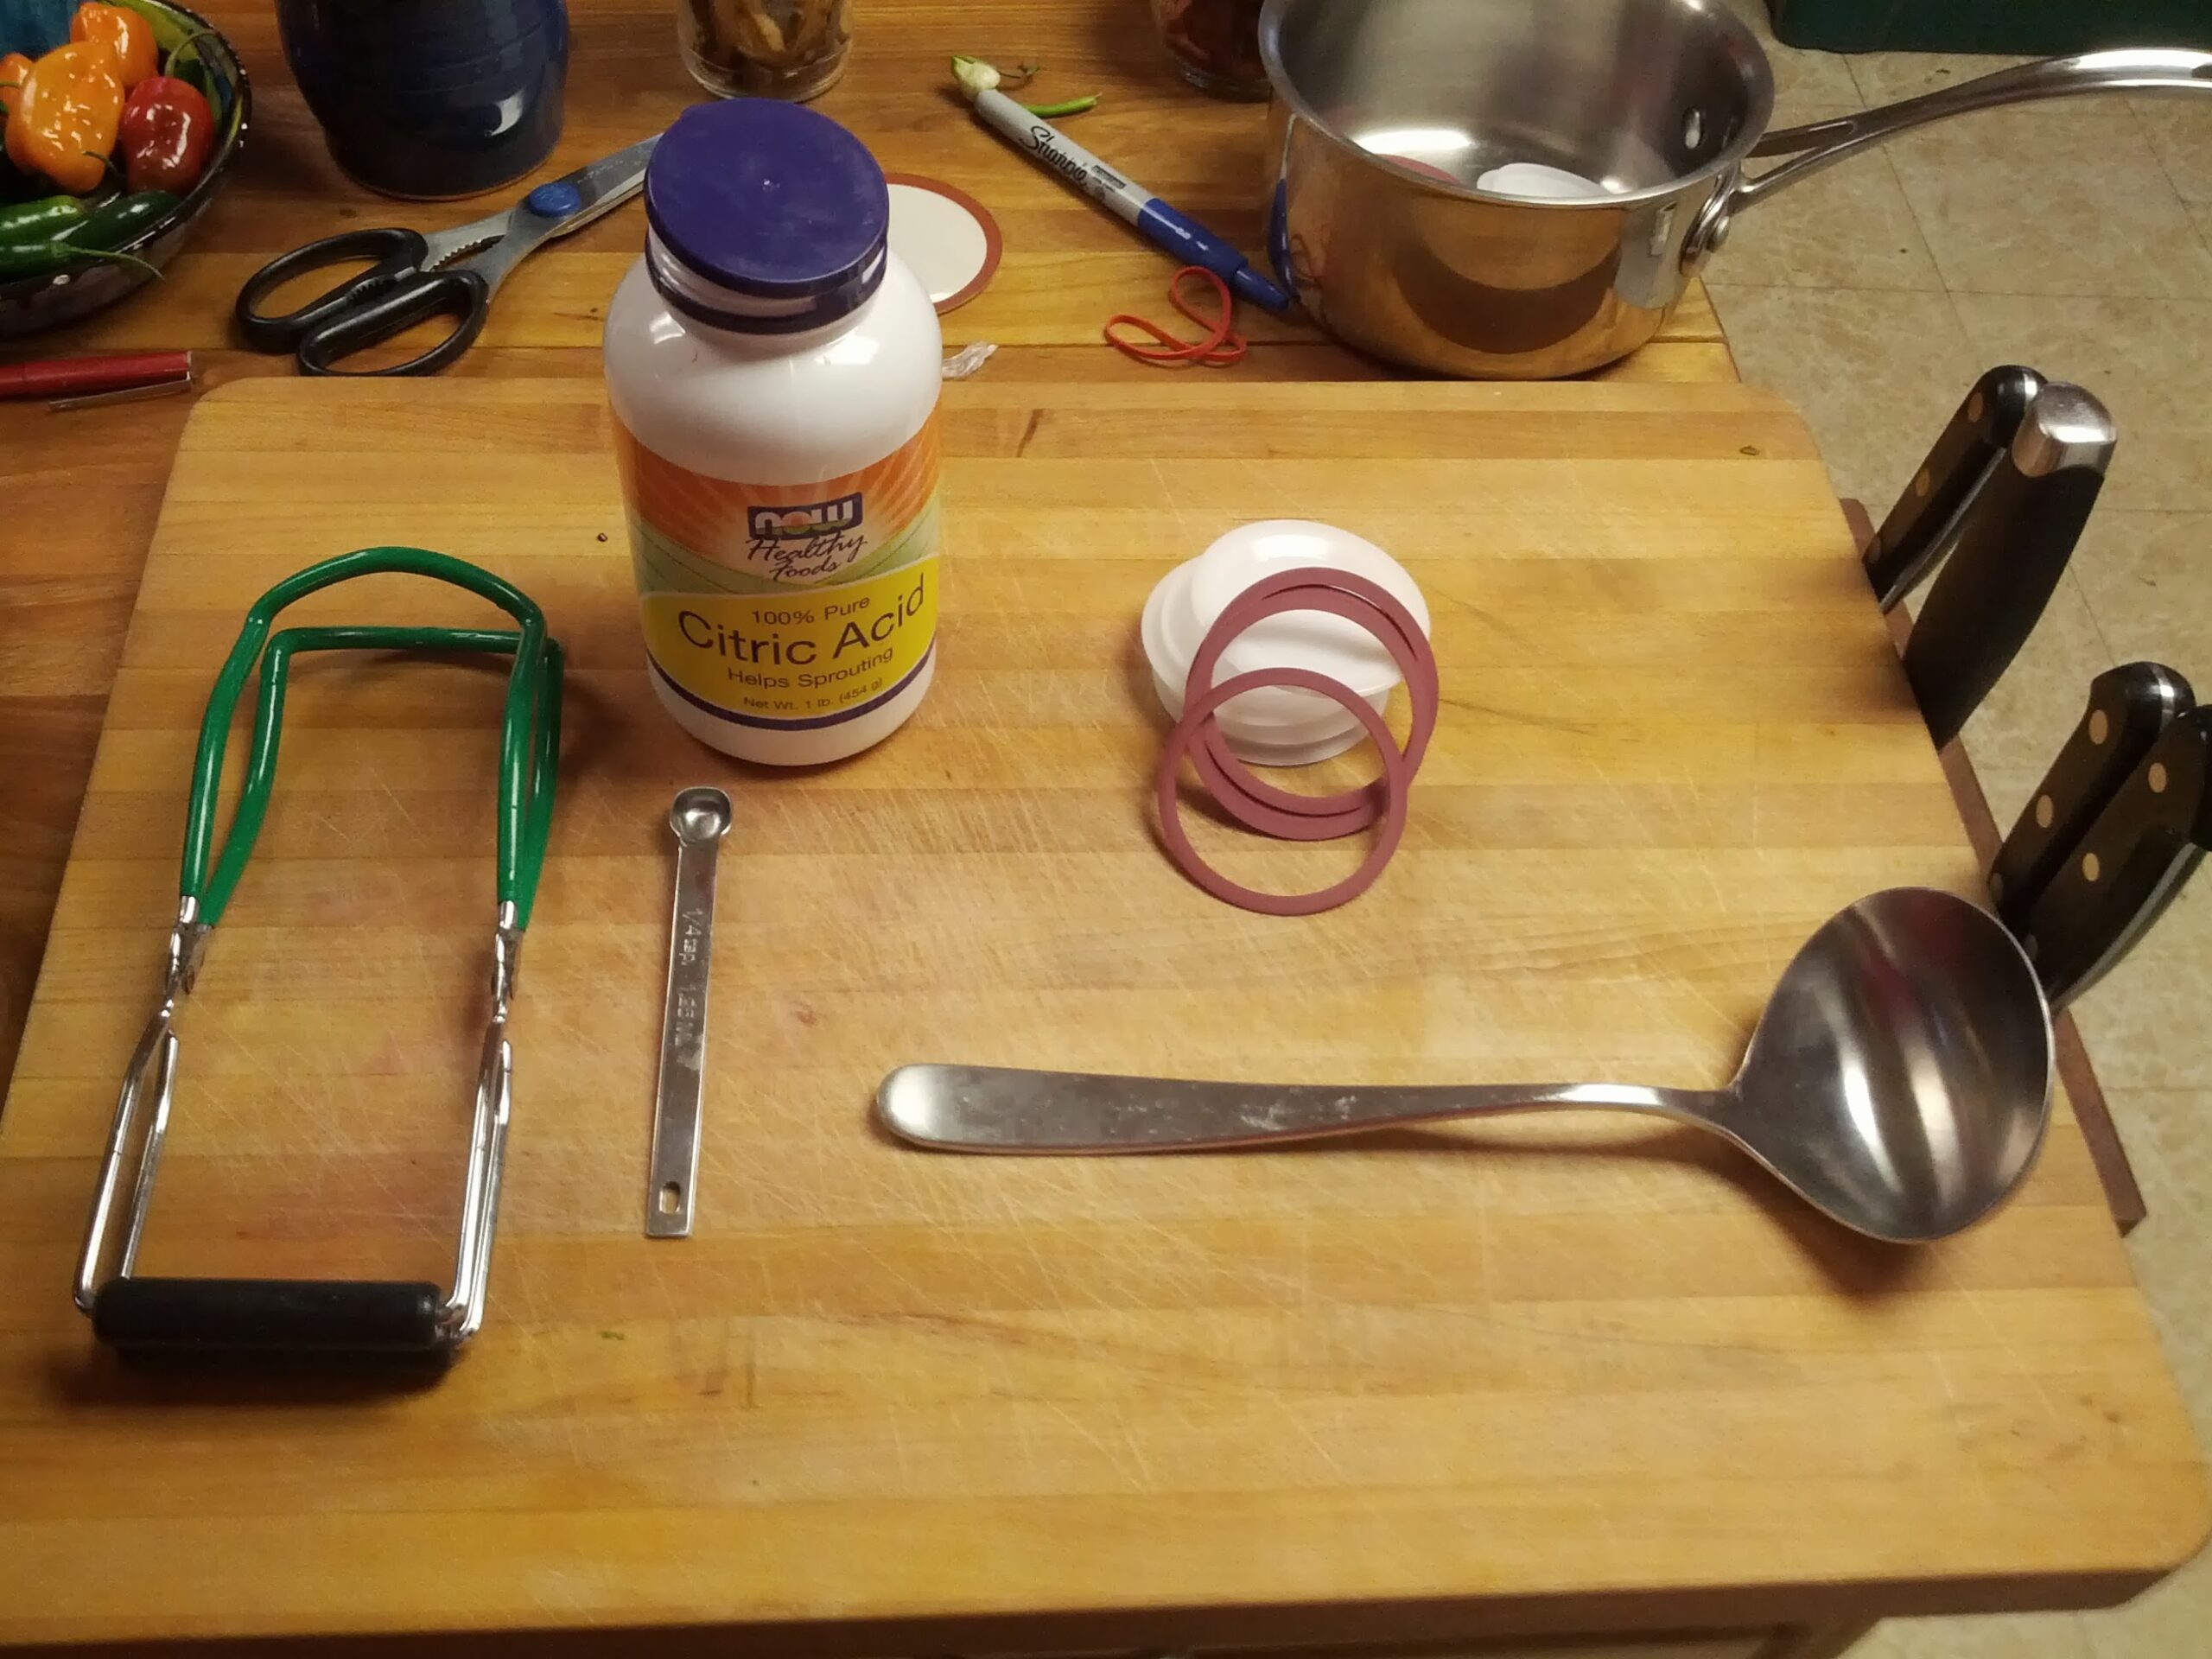
Citric Acid (1/8 teaspoon for each jar)
4 1-pint canning jars for every 5lbs of tomatoes
Salt to taste
You will also need either water-bath or pressure canning equipment.
Note, it is not recommended to add a significant amount of herbs, hot peppers or garlic to canned recipes as these reduce acidity. Refer to the “USDA Complete Guide to Home Canning” for a free electronic guide on home canning.
1. Chopping (At least 1-day prior to canning)
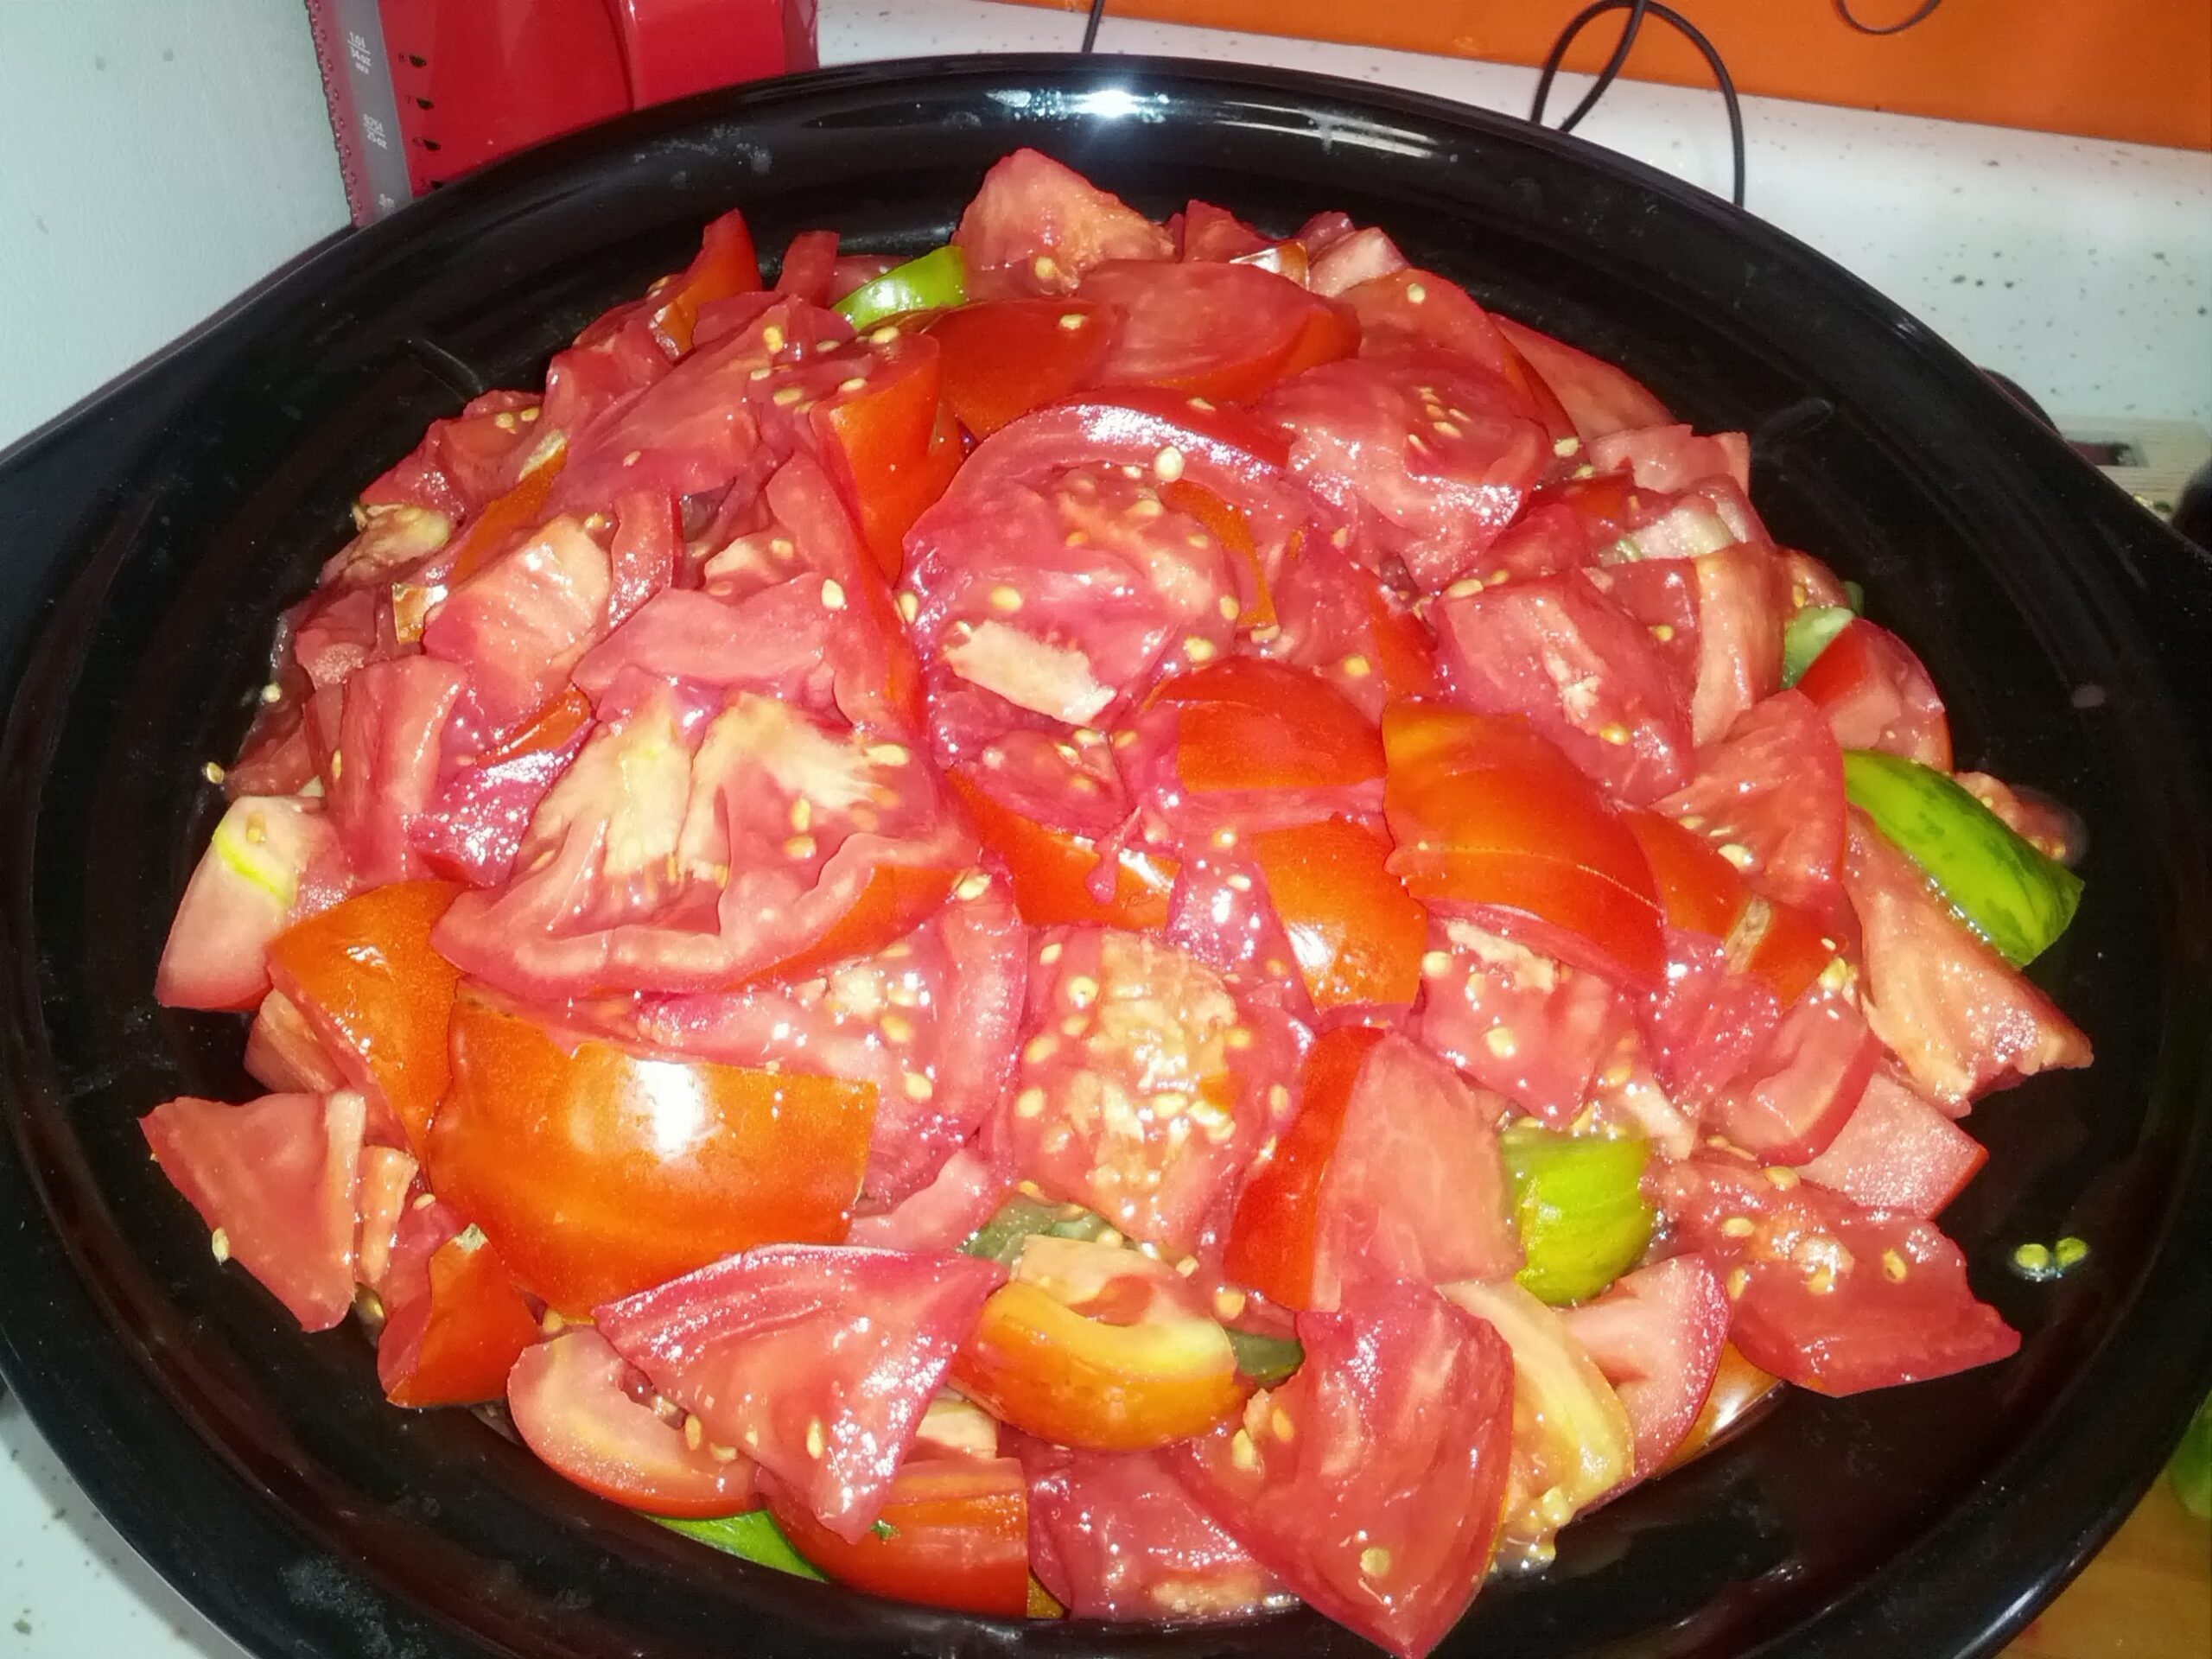
Rough chop the tomatoes, herbs and peppers. Put in a large crock pot.
2. Cooking and Stirring (throughout day(s) prior to canning)
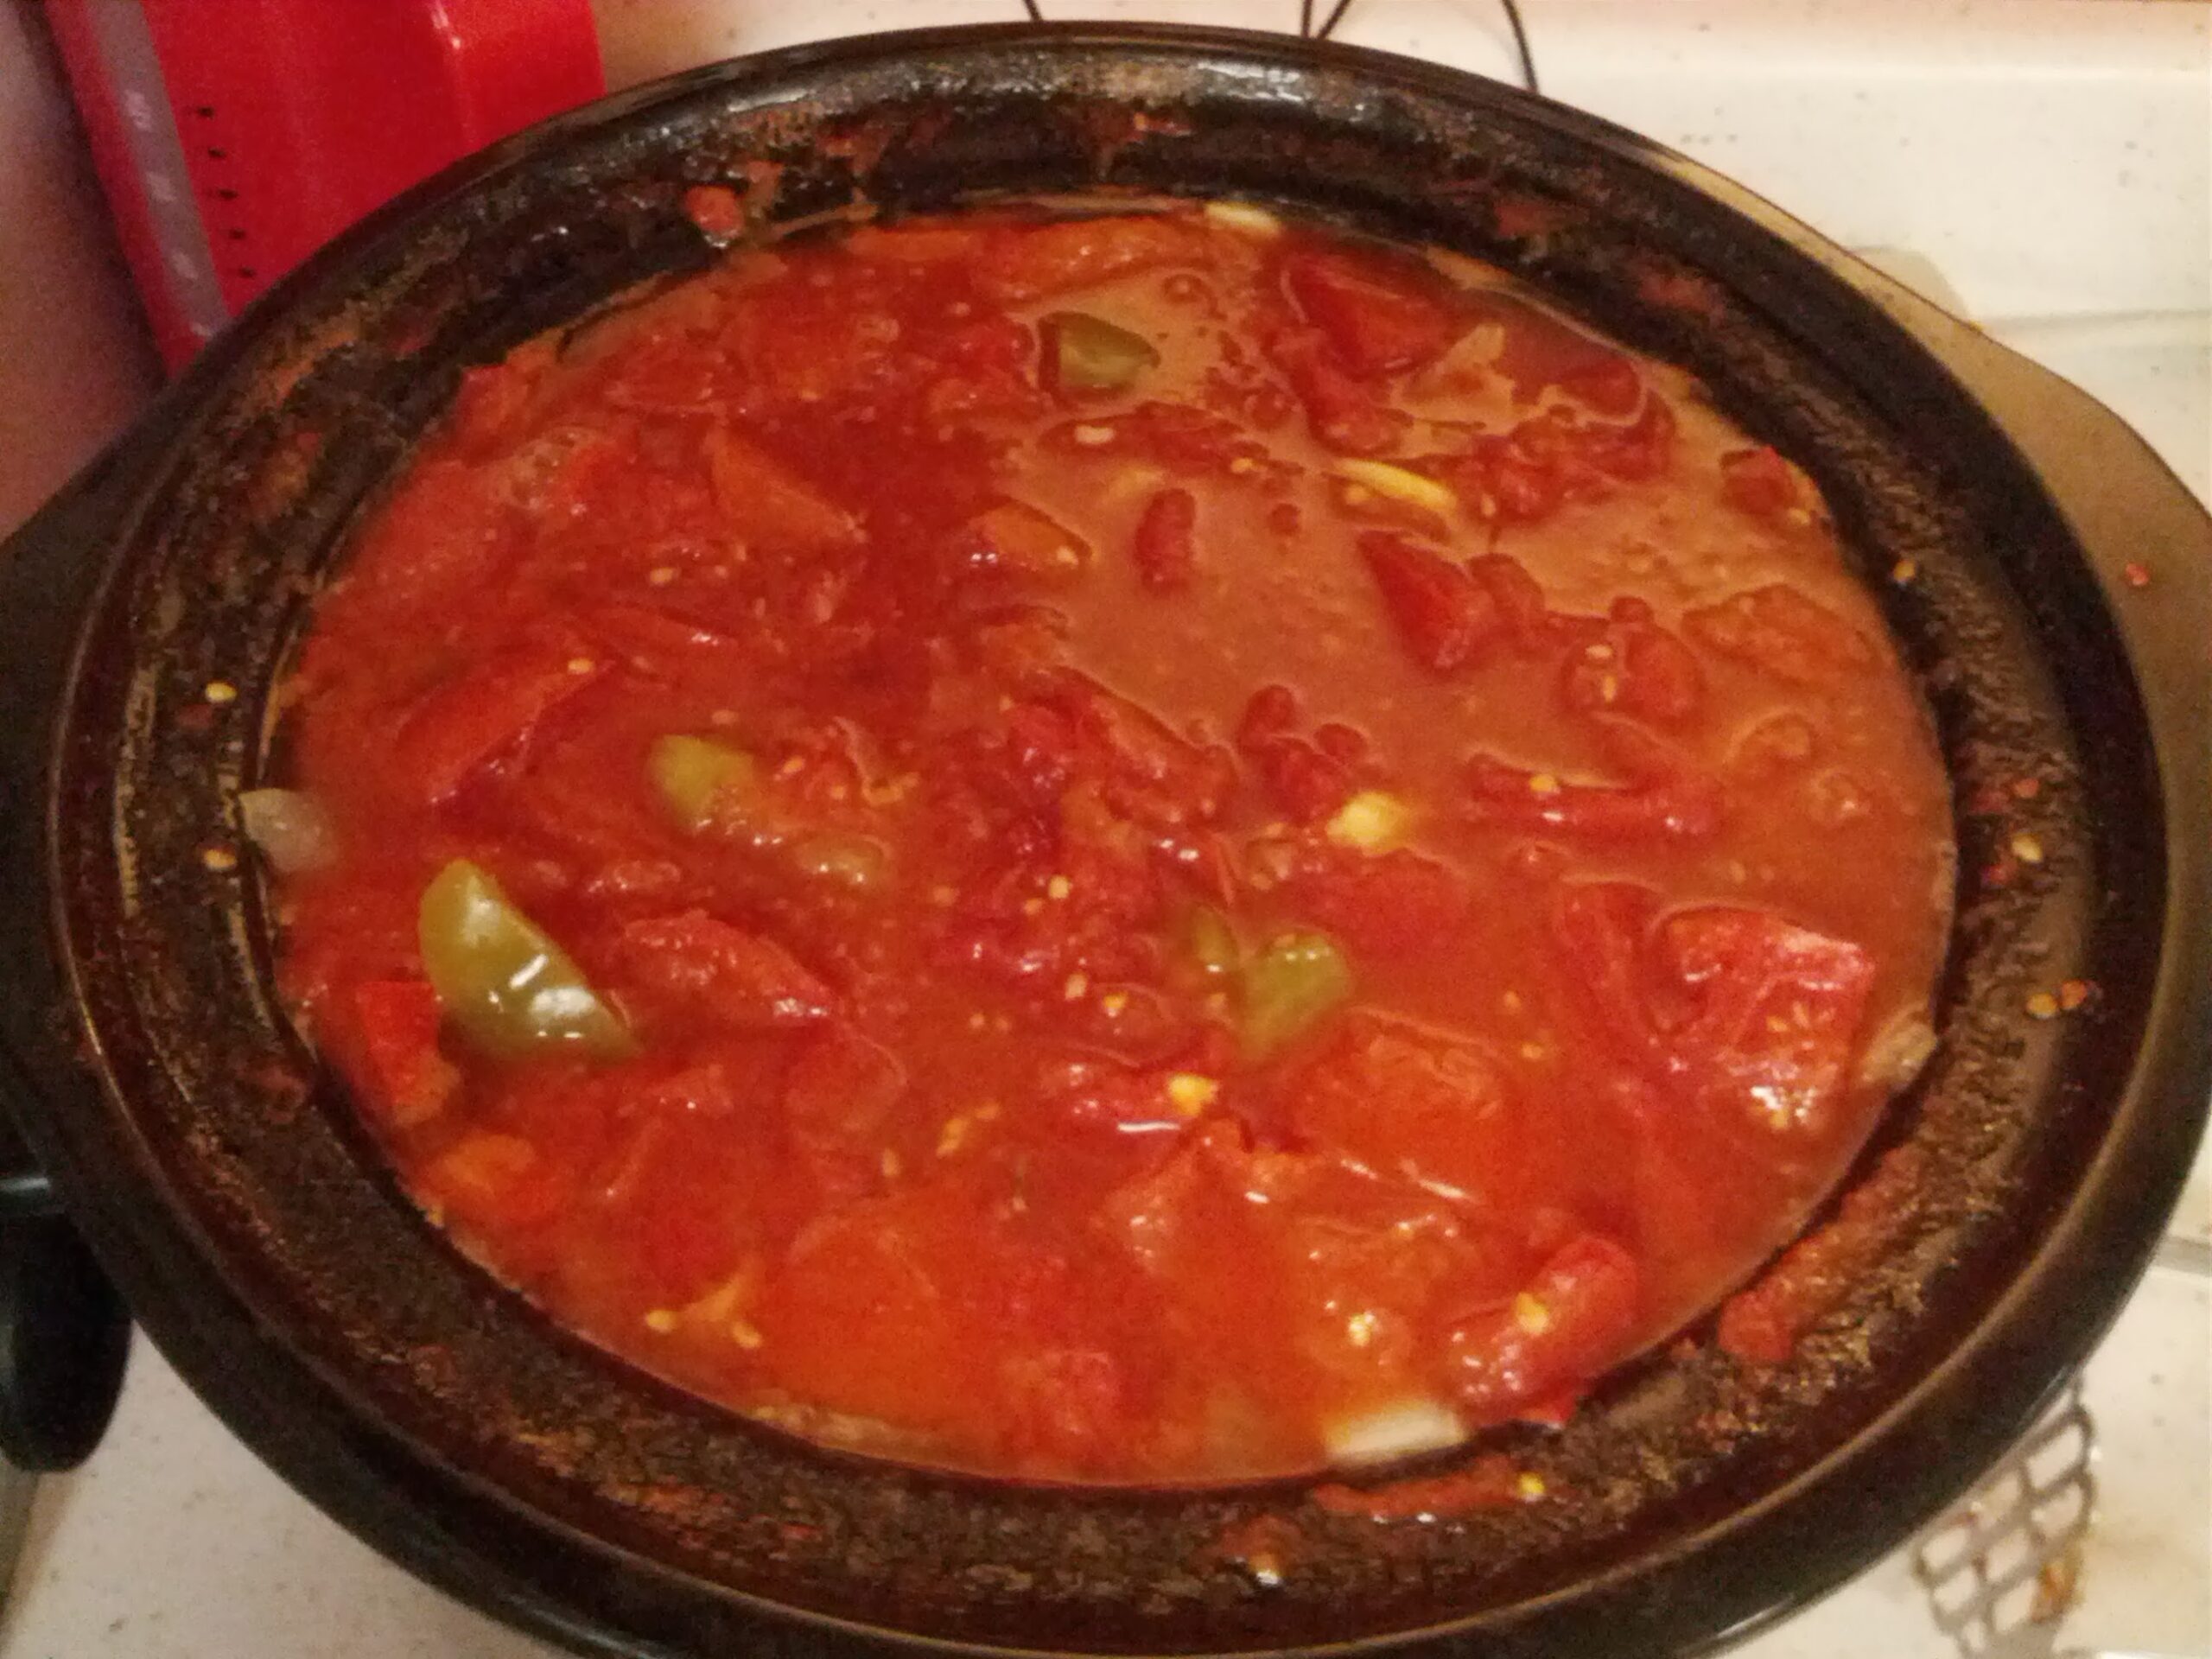
Cover the pot and adjust the temperature to maintain a light simmer throughout the cooking time. Periodically stir and press ingredients into pot. Over time, the mixture will become more saucy.
3. Puree (3-4 hours or longer, if desired, prior to canning)
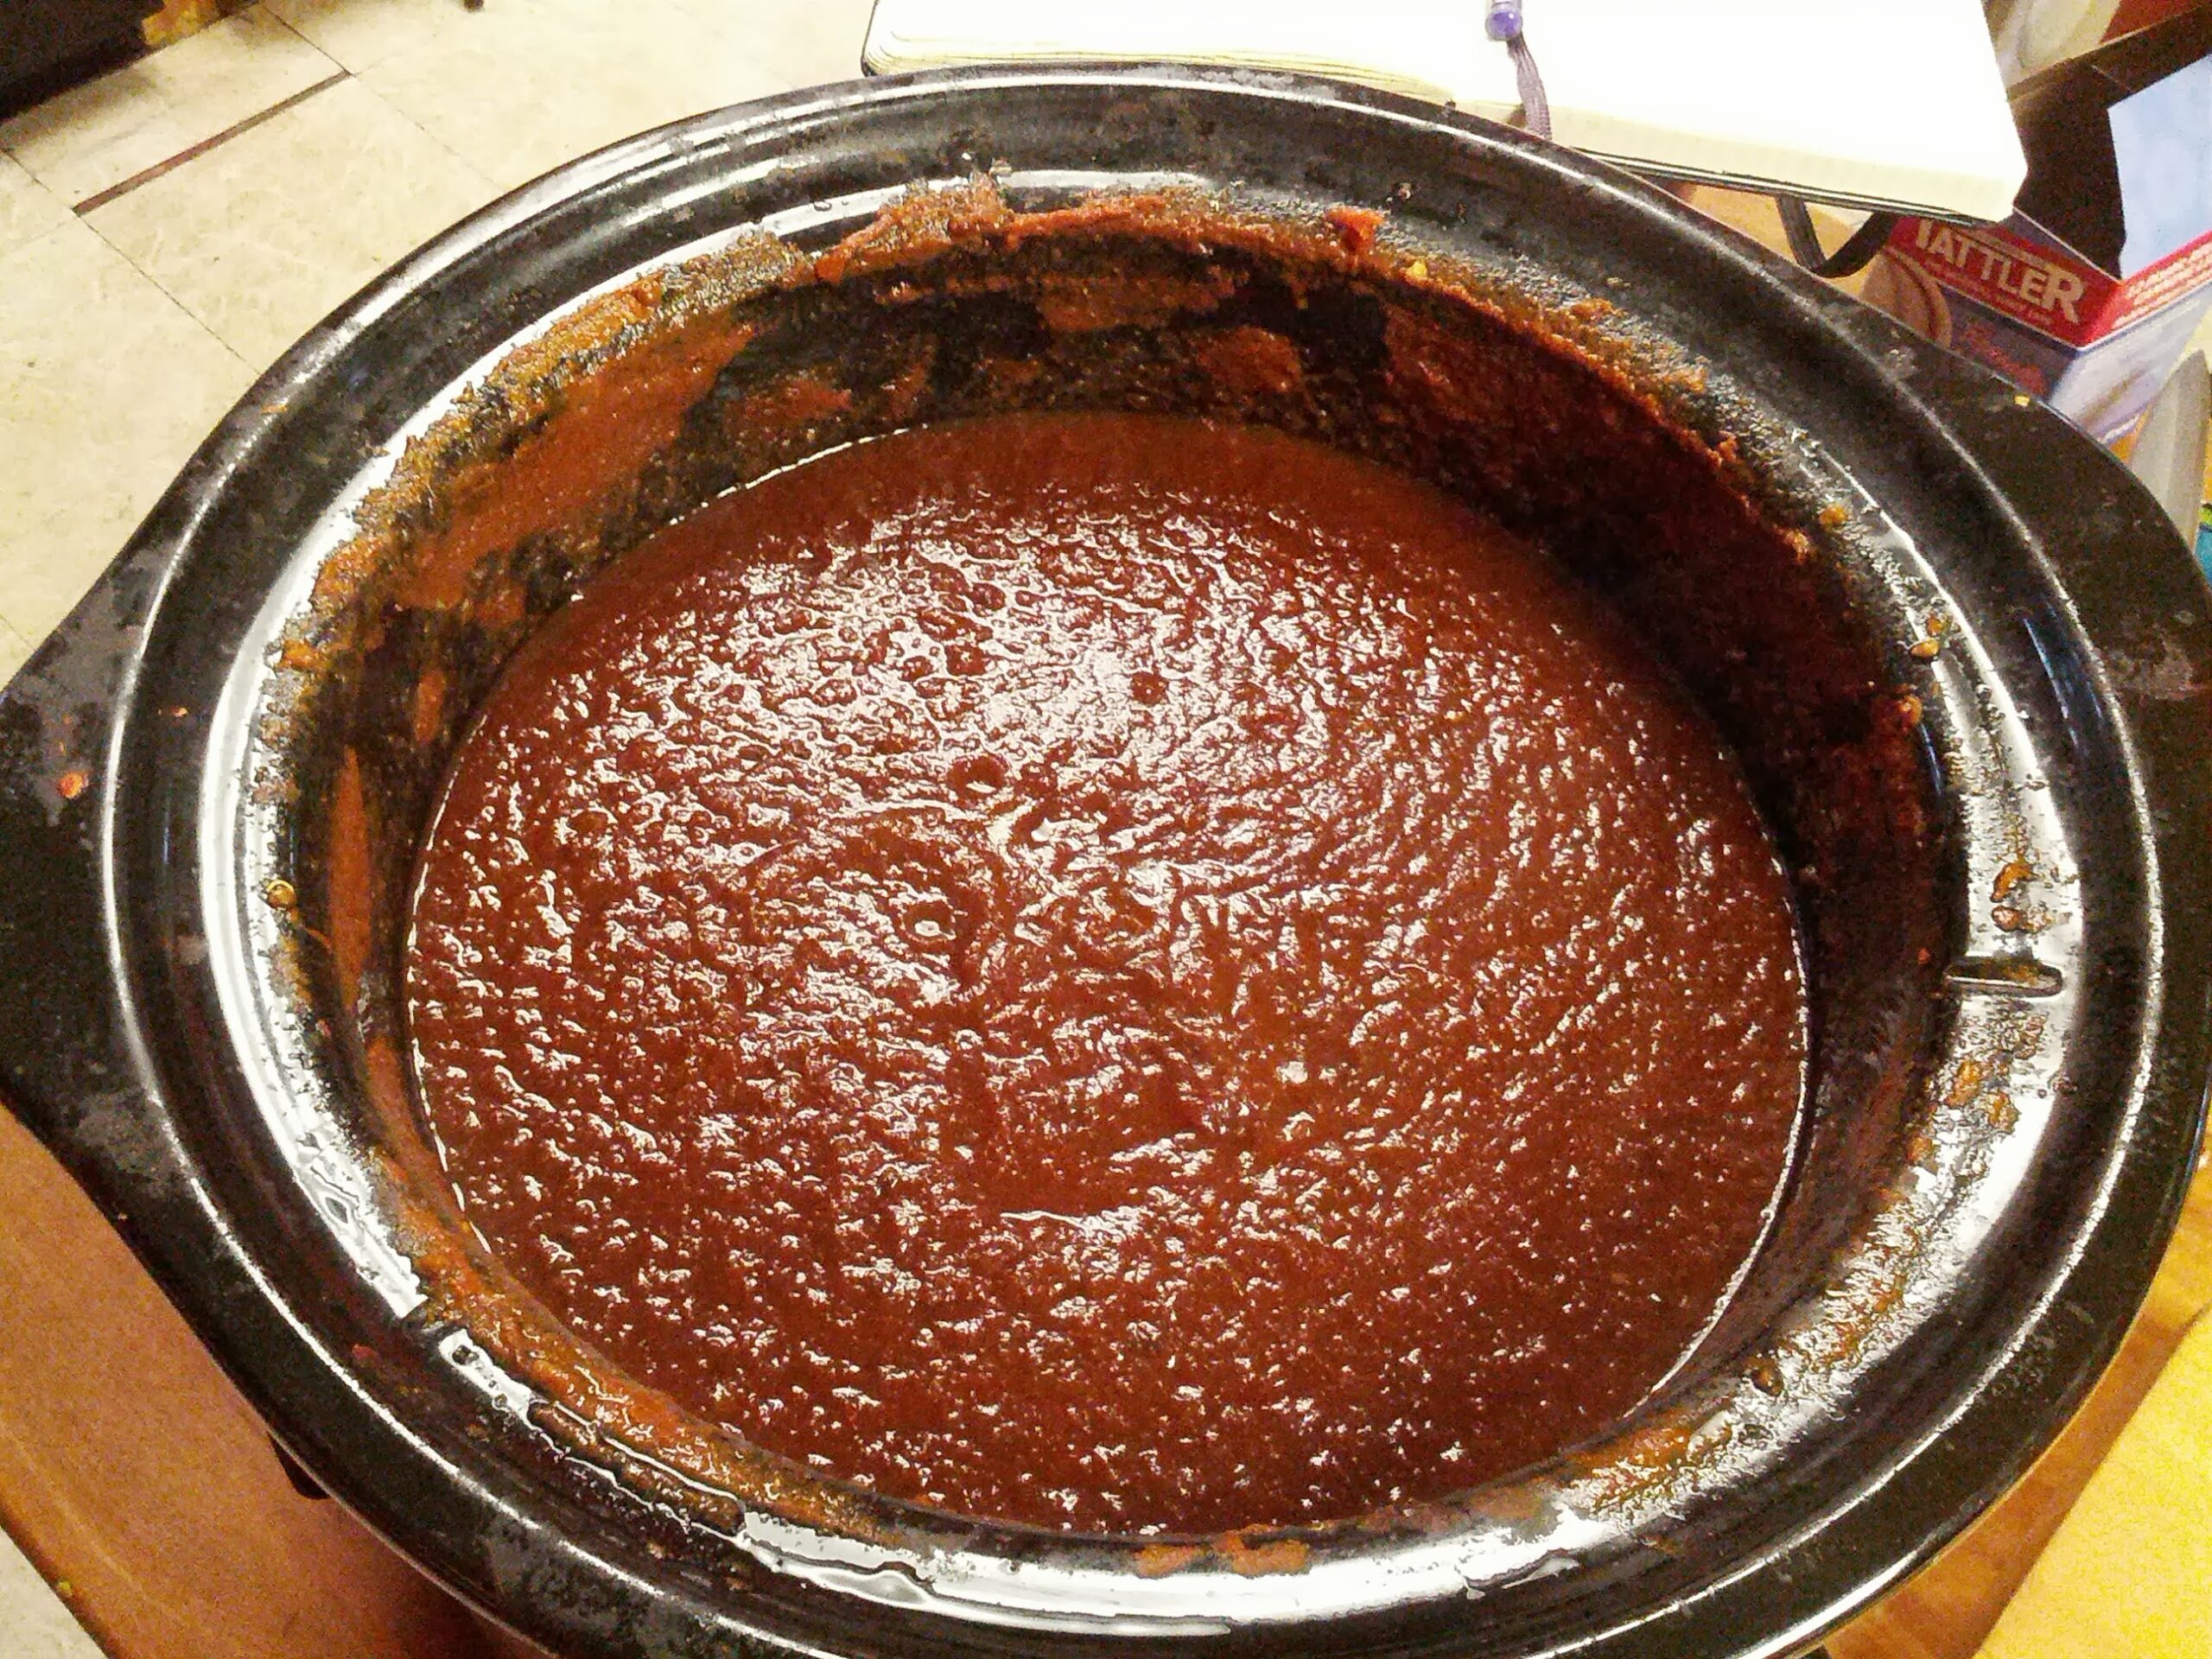
Working in batches, puree the tomato, herb, pepper mixture in a food processor. Similar results can be achieved in a blender. Return the puree to the crockpot. Add salt and vinegar to taste preference Leave the sauce uncovered for reducing. Adjust the temperature to maintain a light simmer. Reduce until the sauce reaches your desired consistency. I reduce by about 1/3 for a thick sauce that can be thinned in a recipe.
For the purposes of canning, the mixture should reach 185F.
4. Sterilize Jars (just prior to canning)

In a hot-water bath, scald jars for 10 minutes to sterilize. This should be done just prior to filling so that the jars and sauce are at a similar temperature. It is best to have all your canning tools and the citric ready to go when the jars are ready.
5. Fill Jars
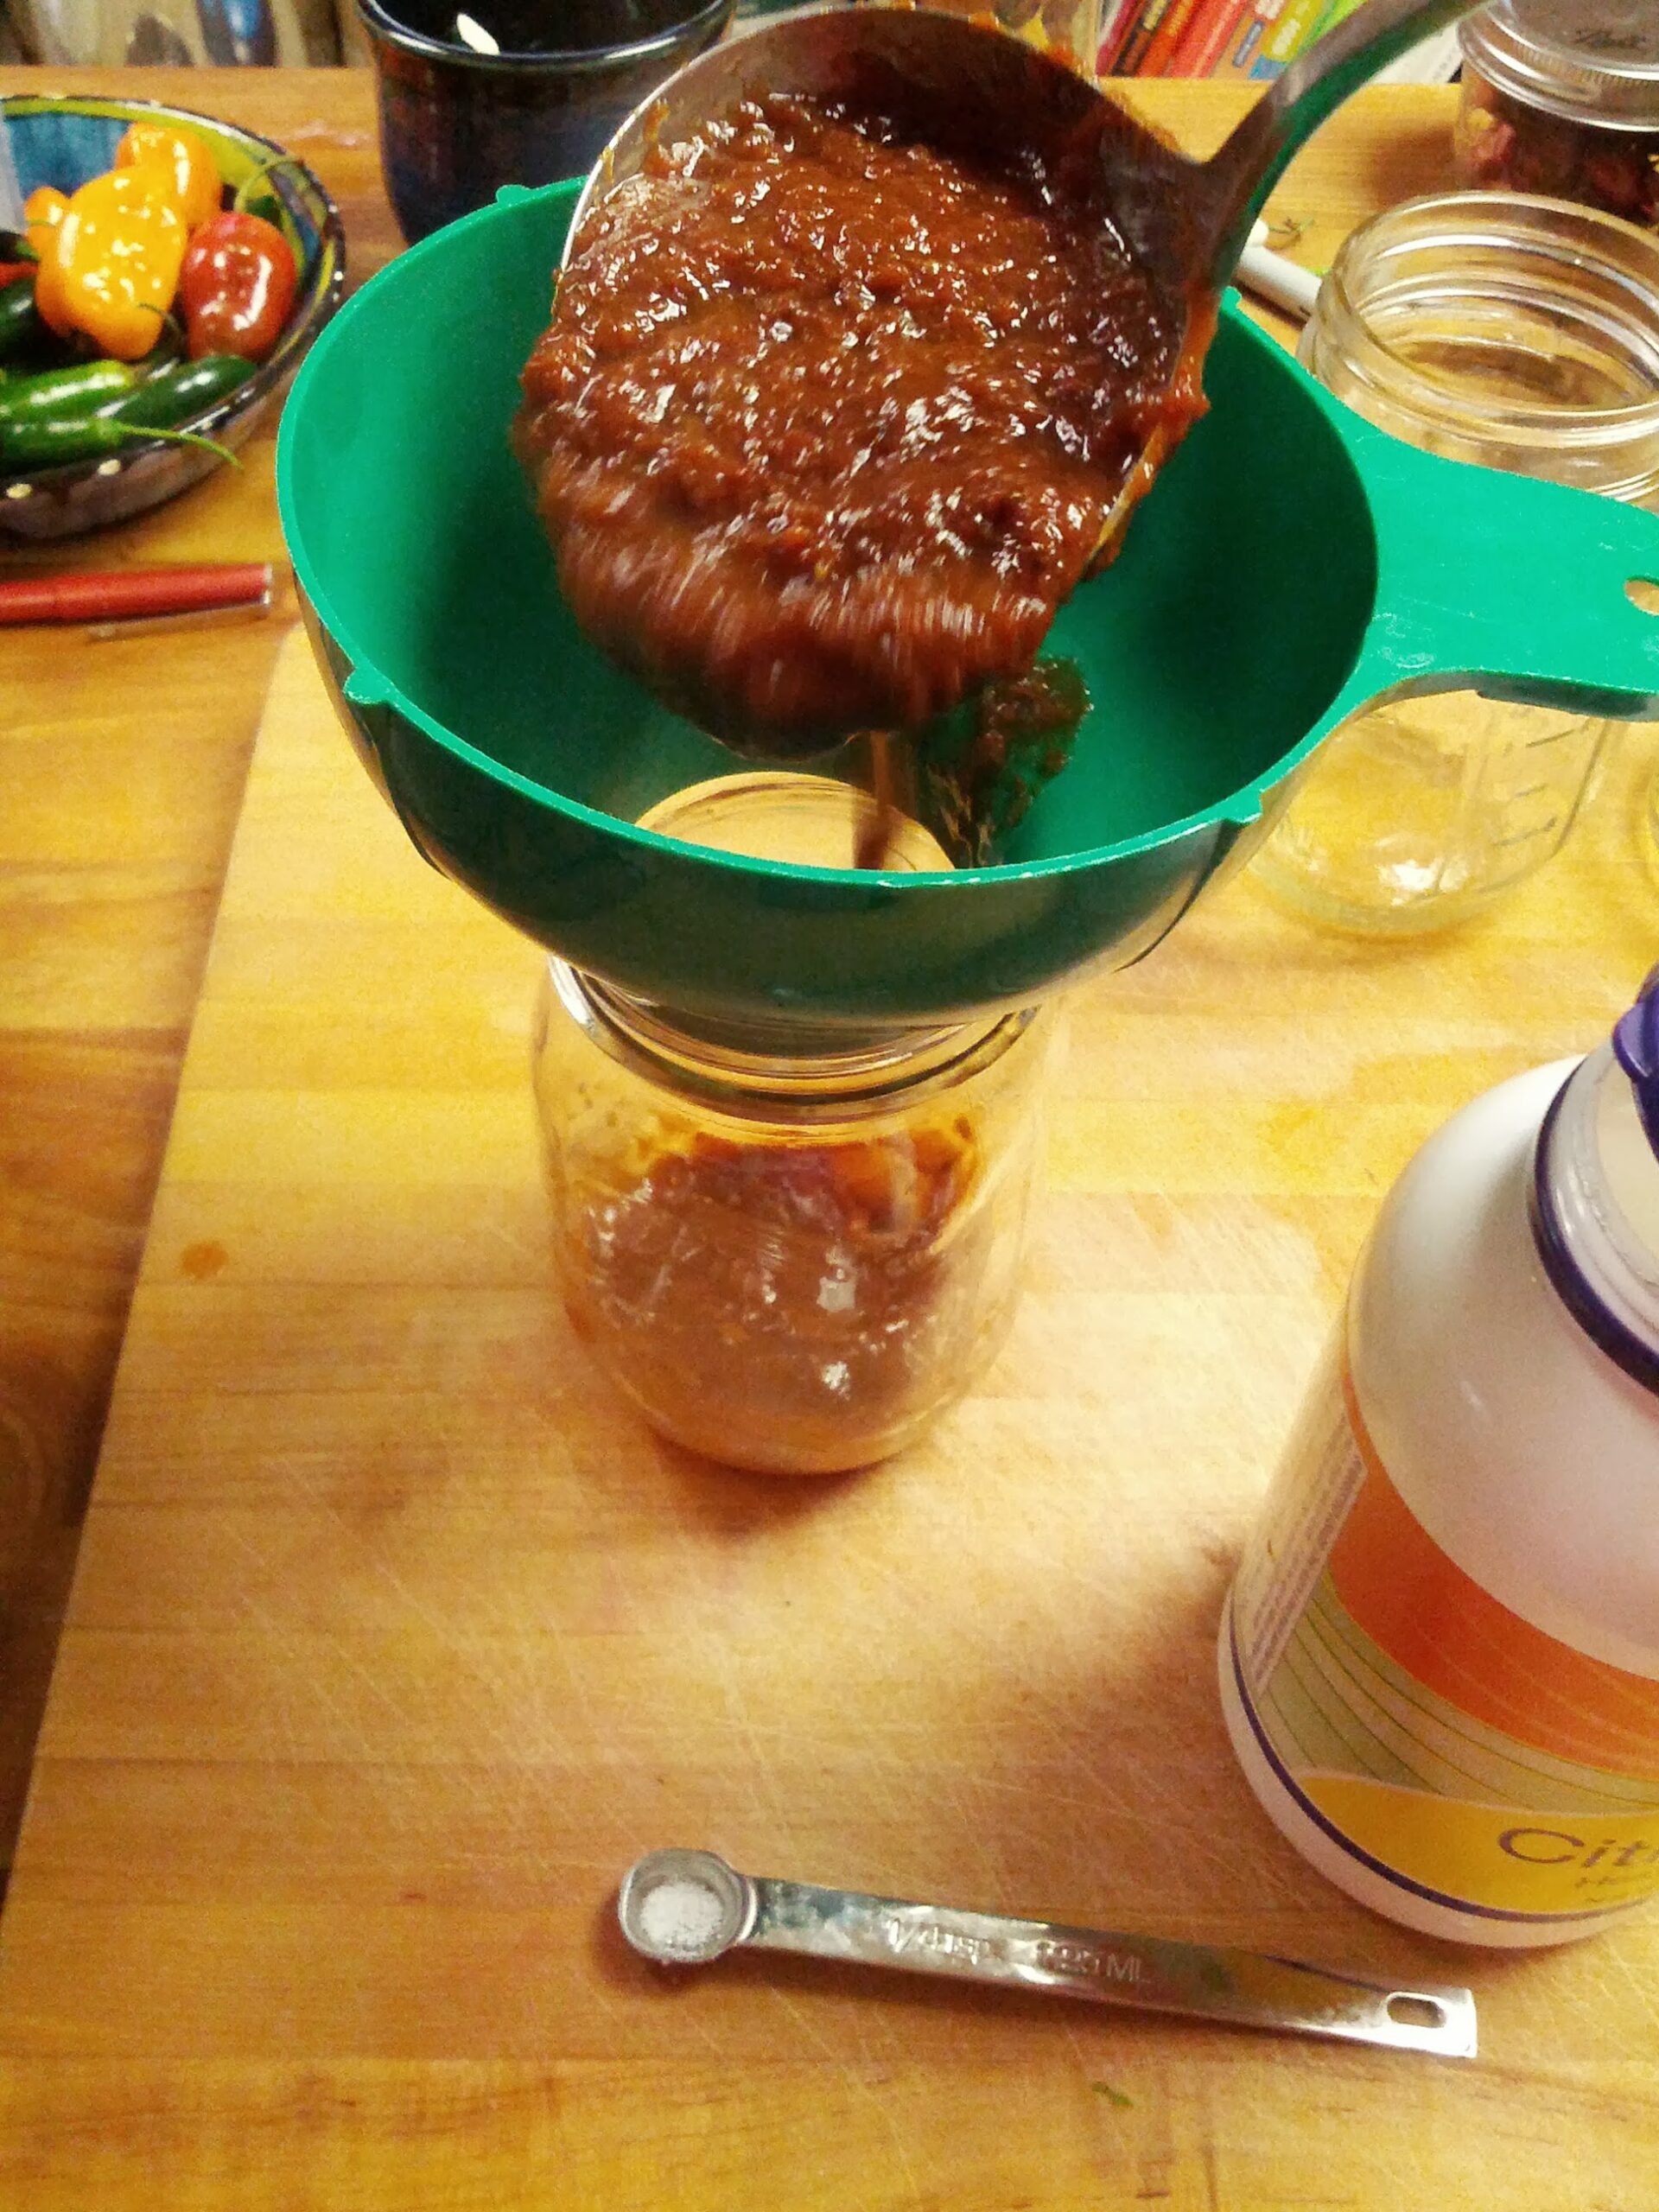
Prior to filling, add 1/8 teaspoon of citric acid to each jar. Fill each jar. Remove trapped air bubbles and leave a 1/4-inch of head space (1/2-inch if you are using Tattler lids). Carefully wipe down the rim of each jar and fit it with a scalded lid. Only finger tighten the band as gas needs to escape during the process. Refer to the “USDA Complete Guide to Home Canning” for more information.
5. Process (10 to 85 minutes depending on process used)
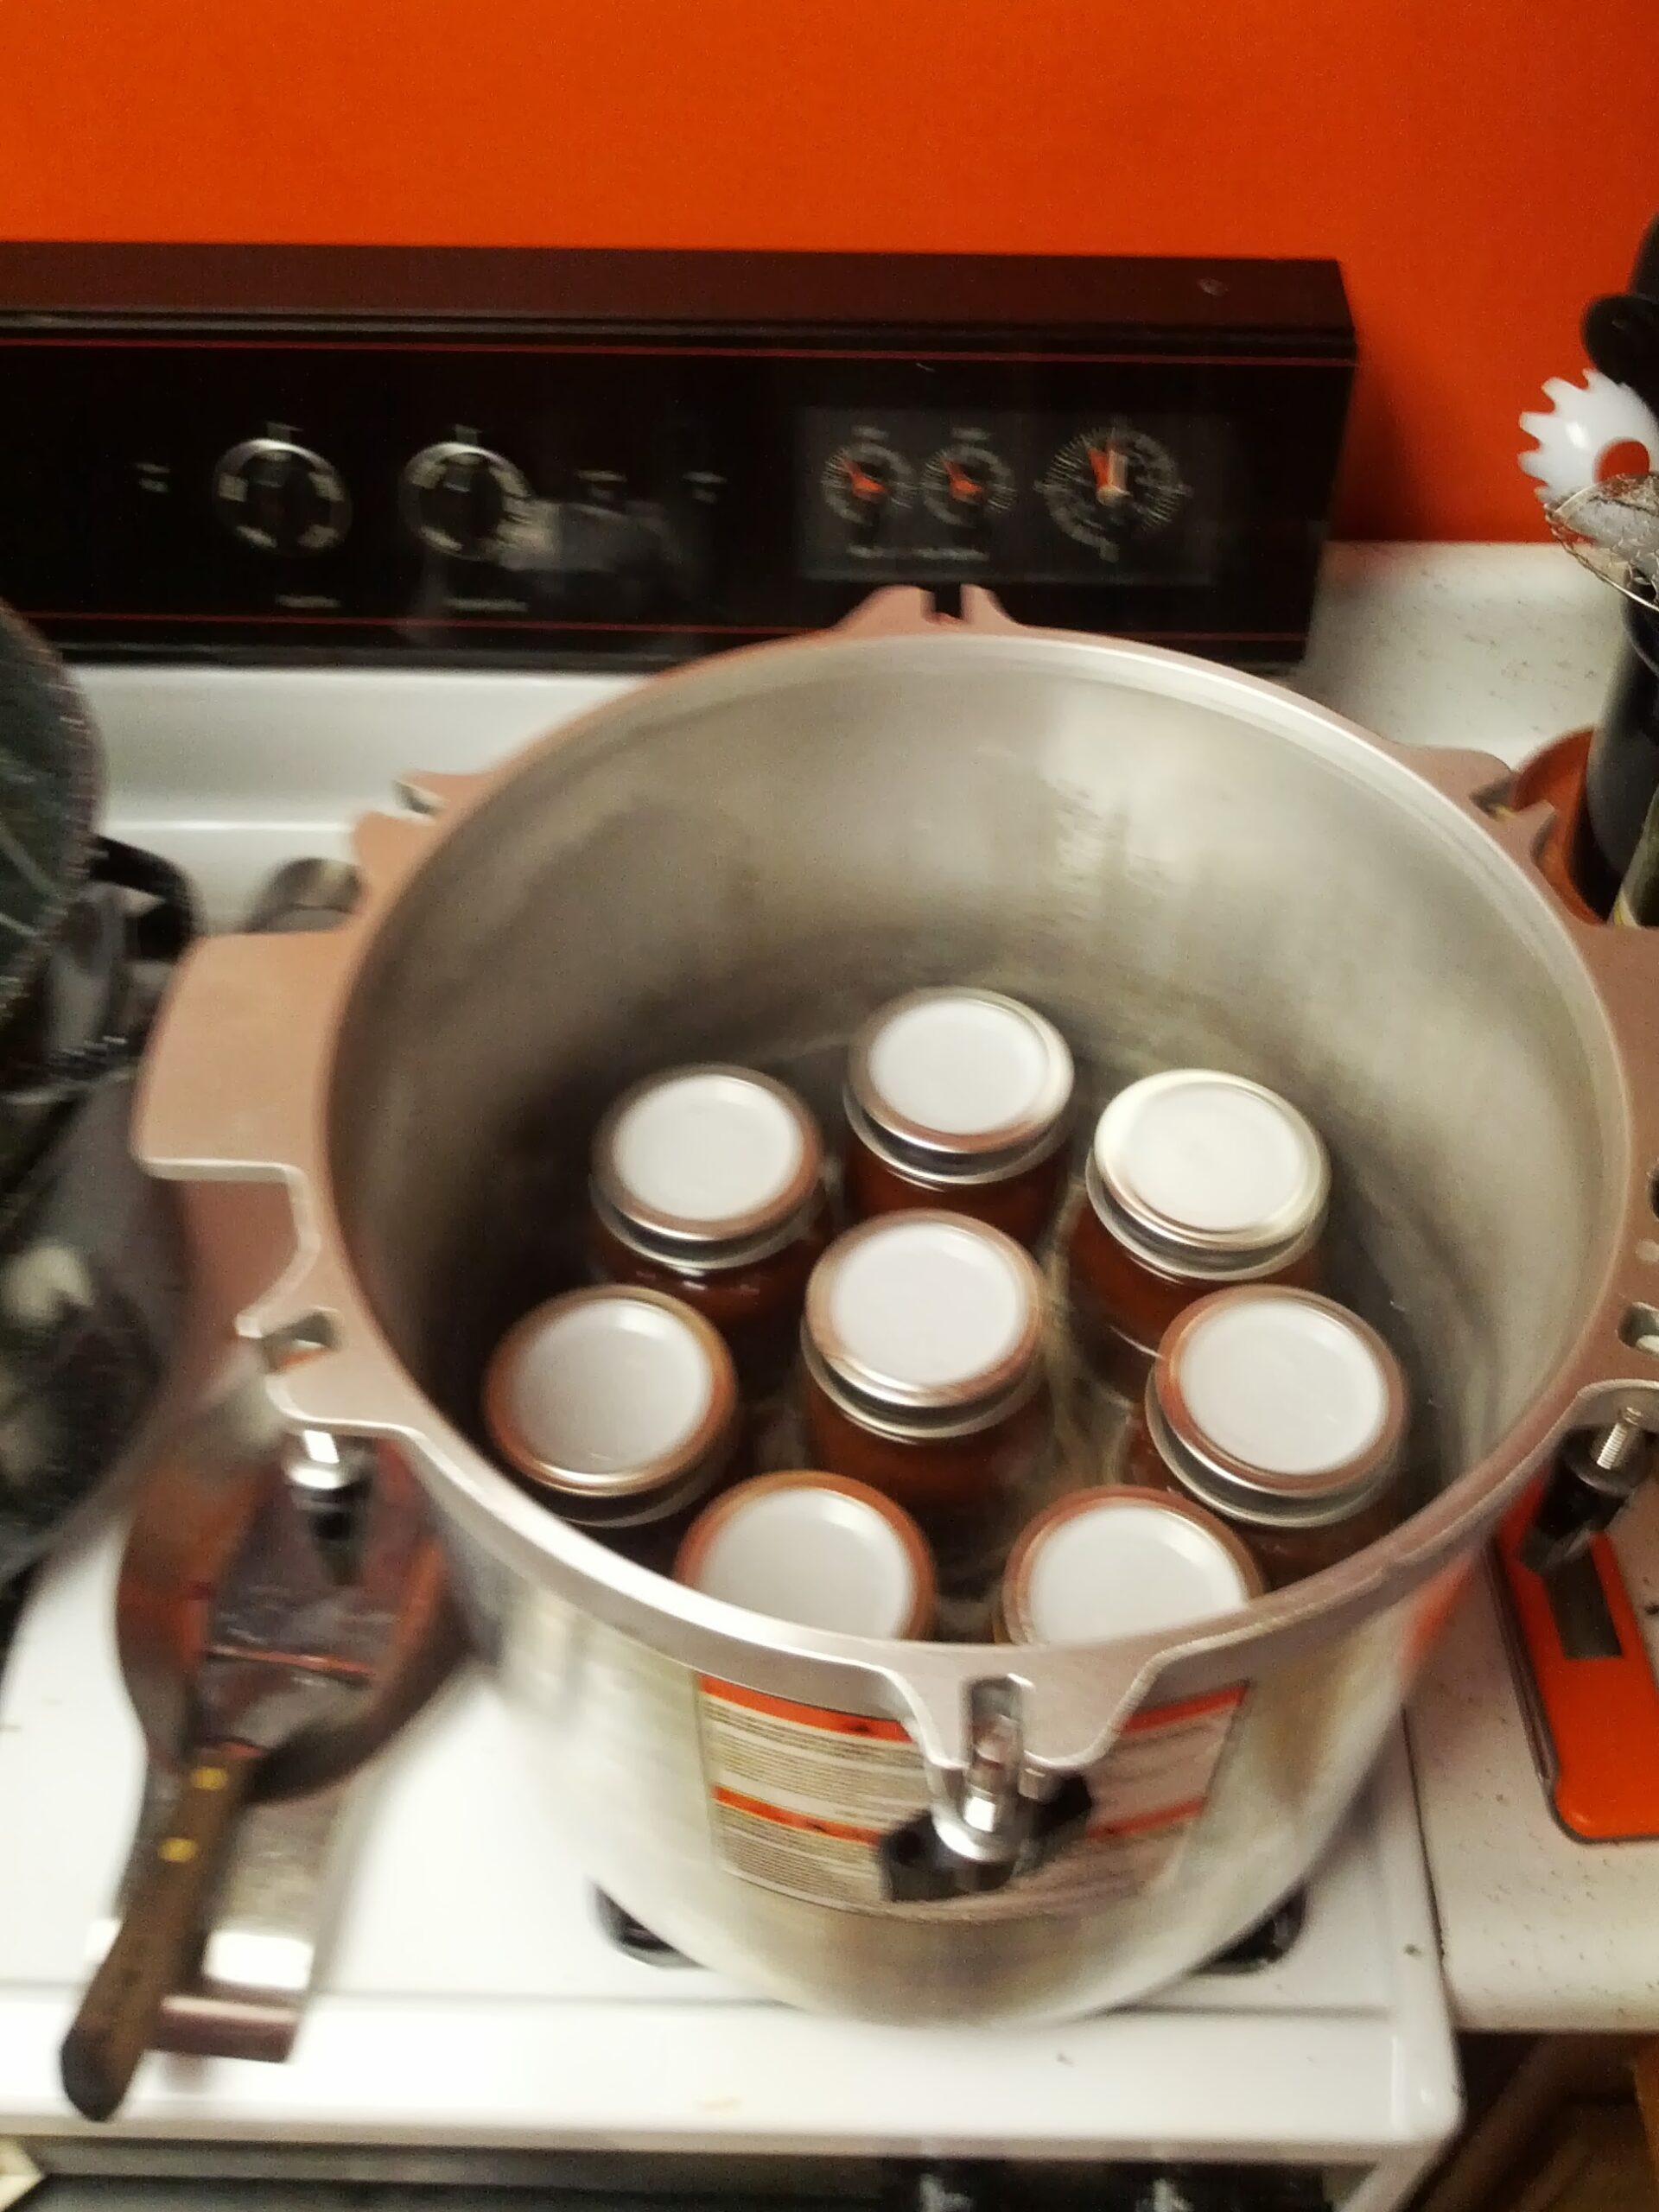
Load water bath or pressure canner and process according to the “USDA Complete Guide to Home Canning” recommended times. I used a weighted pressure canner with a 15 lb weight.
Leave a Reply